


Installing a car seat correctly is all about the details. It comes down to choosing between the LATCH system or your vehicle's seat belt to secure the base, then making sure it moves less than one inch at the belt path. From there, you just need to adjust the recline angle and harness straps to fit your child snugly. It can feel like a complex puzzle, but once you get the hang of it, it becomes a simple, life-saving process.
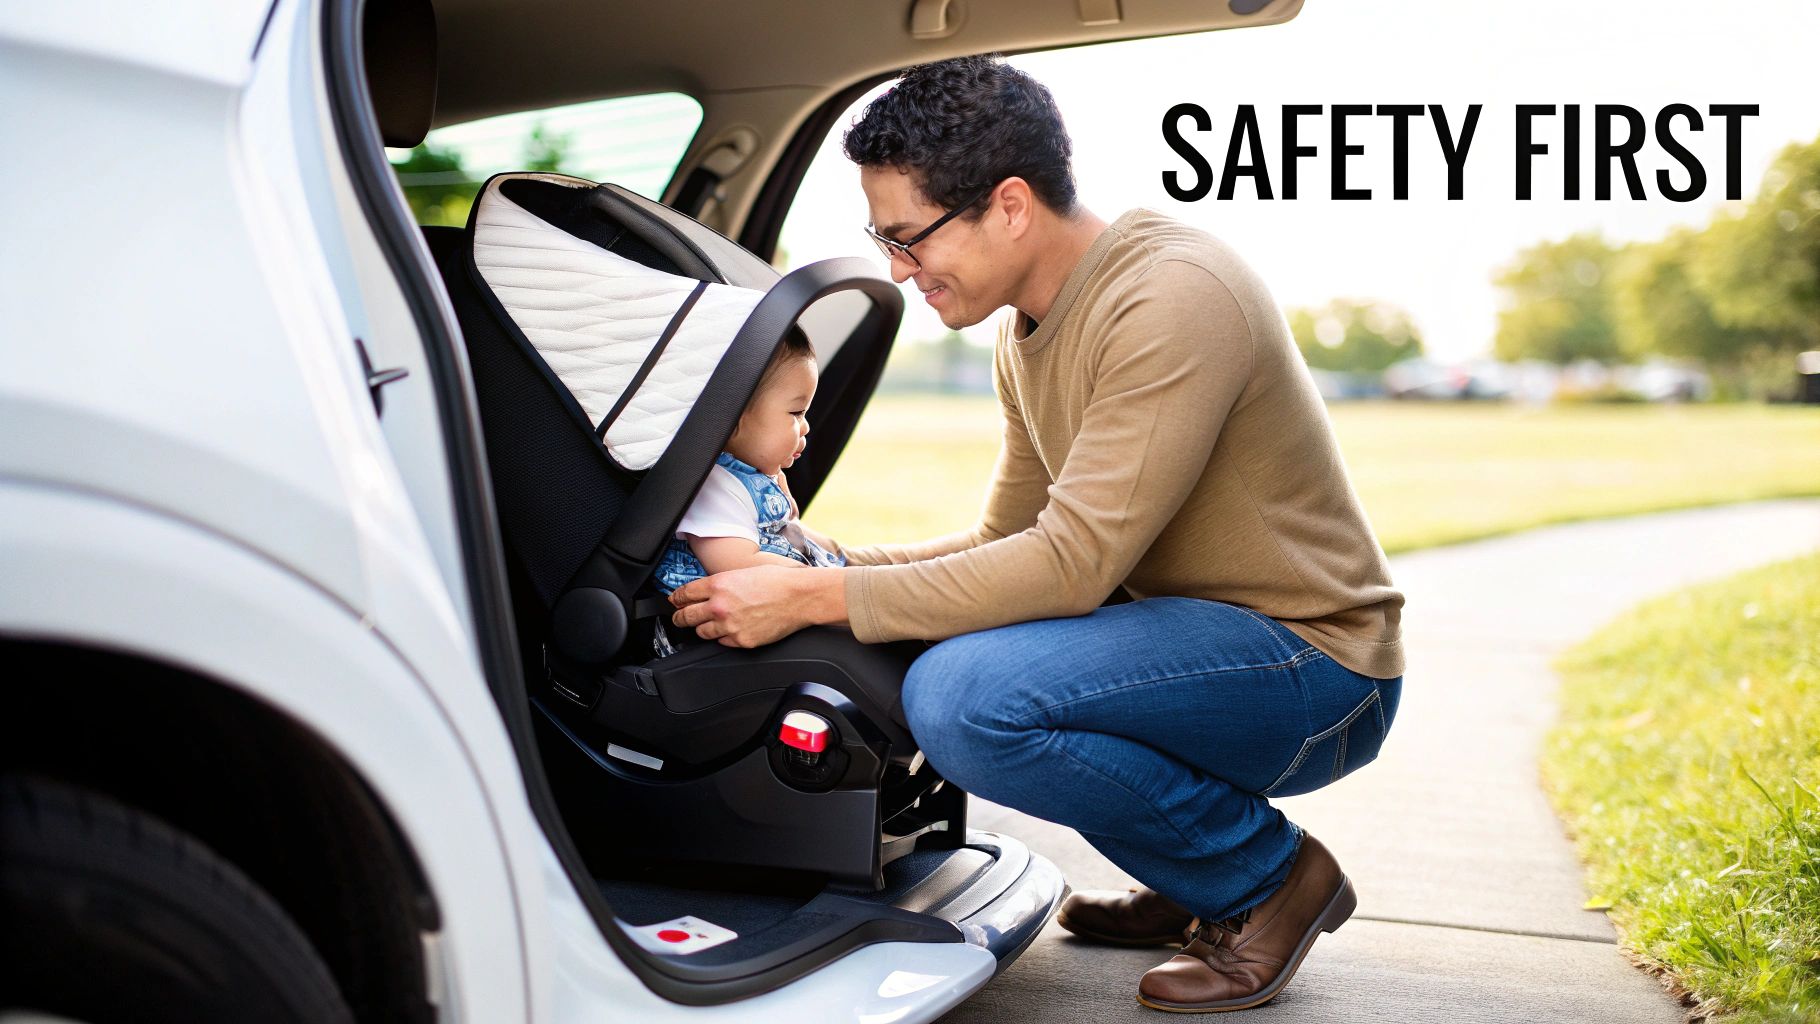
Why Getting Car Seat Installation Right Is So Critical
Let's be honest—installing a car seat feels high-stakes, because it is. While choosing a high-quality seat is a great first step, the protection it offers is only as good as its installation.
Think of a car seat as a protective shell designed to absorb and distribute crash forces away from your child's fragile body. When it's installed correctly, it does its job perfectly.
However, even small mistakes can undermine this protection. A loose installation, twisted harness straps, or an incorrect recline angle can have serious consequences in a collision. This guide is designed to empower you with the knowledge to get it right every single time.
The Sobering Reality of Car Seat Misuse
The statistics surrounding car seat installation are startling. Did you know that a staggering 46% of car seats and booster seats are used incorrectly, according to the latest research from the National Highway Traffic Safety Administration (NHTSA)?
This shocking statistic highlights a critical gap in child passenger safety, even among well-meaning parents. This isn't meant to scare you, but to highlight why "good enough" isn't an option when it comes to your child's safety. Mastering the installation process turns that anxiety into confidence.
Core Concepts for a Secure Installation
Before we dive into the step-by-step instructions, it helps to understand a few key terms you'll see again and again. Getting familiar with the vocabulary now will make the hands-on process much smoother.
- LATCH System: This stands for Lower Anchors and Tethers for Children. Most vehicles made after 2002 have lower anchors in the back seat, which provide a dedicated and often simpler way to install your car seat.
- Seat Belt Lock-Offs: Many modern car seats have built-in devices that clamp the vehicle's seat belt tightly, making it easier to get a secure fit without the belt loosening over time.
- Recline Angle: For infants, the recline is critical to keep their airway open. Car seats have built-in indicators—like a bubble or a line—to help you get this angle just right.
- Tightness Check: The gold standard is that your car seat should not move more than one inch side-to-side or front-to-back at the belt path. Grab it where the belt goes through and give it a firm tug.
Your car seat manual and your vehicle's owner manual are your two most important resources. Always consult them first, as they provide specific instructions tailored to your exact seat and car.
Understanding the why behind each step is crucial. For instance, knowing proper positioning and when to switch from rear-facing to forward-facing is a key safety concern. To learn more about this, you can explore detailed guidance on how long children should remain rear-facing. Taking the time to master these details transforms a stressful task into an act of empowerment, ensuring your child is as safe as possible on every journey.
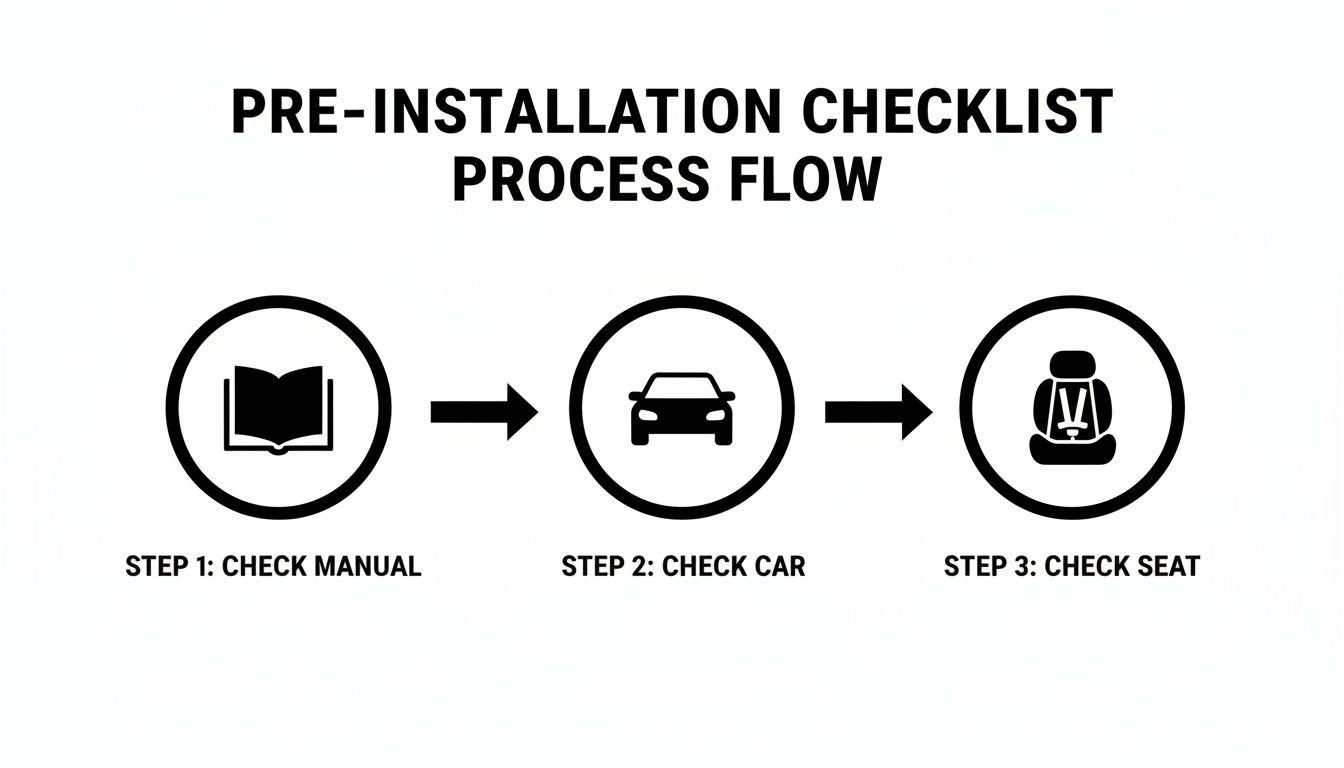
Your Pre-Installation Safety Checklist
Before you even think about wrestling that car seat into your vehicle, taking a few minutes to prep can save you a ton of frustration. Think of it as your pre-flight check; getting these details right on the ground makes for a much smoother, safer journey.
First things first, grab two crucial documents: your car seat manual and your vehicle’s owner's manual. These aren't just suggested reading—they are the definitive guides for your specific gear. Your car seat manual lays out the approved installation methods, while your car's manual will show you exactly where the LATCH anchors are located and how your seat belts work.
Confirm the Right Fit for Your Child
A rock-solid installation doesn't mean much if the seat itself isn't the right one for your child. Car seats are designed for very specific weight, height, and age ranges to give your little one the best possible protection. They are definitely not one-size-fits-all.
Take a second to check the labels on the side of the car seat for its limits. Is your child still within the height and weight range for the way you plan to use it (like rear-facing or forward-facing)? This is a non-negotiable first step. If you're on the fence about whether it's time for a change, our guide on when it's time to upgrade your child's car seat can help clear things up.
Find the Safest Spot in Your Car
Okay, you've got the right seat. Now, where does it go? The American Academy of Pediatrics (AAP) and the NHTSA has historically recommended the center of the back seat as the safest spot, as it offers the most protection from side-impact collisions.
However, a secure installation is more important than the location. Some cars have a hump or an uneven seat in the middle that makes getting a tight fit nearly impossible. If you can't get a rock-solid installation in the center—with less than one inch of movement at the belt path—the next best spot is an outboard position (behind either the driver or the passenger).
Pro Tip: Never, ever install a rear-facing car seat in the front seat. The force of a deploying passenger airbag can cause catastrophic injury or death to a child in that position. It is illegal and extremely dangerous.
Check Expiration Dates and Recalls
Lastly, a couple of final, crucial safety checks on the car seat itself. You might be surprised to learn that car seats expire. Over time, the plastics can become brittle and safety standards change.
- Expiration Date: Look for a sticker on the plastic shell or an embossed date stamp. Most seats are good for 6 to 10 years from the date they were made. If you can't find it, do not use the seat.
- Recall History: It’s always a good idea to register your car seat with the manufacturer. You can also check the NHTSA website using your seat’s model number and manufacture date to make sure it hasn’t been recalled.
Starting with a safe, appropriate, and non-recalled seat is the foundation of a good installation. With these checks done, you're ready to get hands-on.
A Practical Guide to Installing Your Car Seat
Alright, let's get to the hands-on part. I know installing a car seat can feel like you're trying to solve a puzzle, but with the right approach, you can get a secure fit that gives you total peace of mind.
We'll walk through the process for rear-facing, forward-facing, and booster seats, covering the two main ways to get them installed safely.
The goal is always the same: a rock-solid installation where the car seat moves less than one inch side-to-side or front-to-back when you tug on it at the belt path. That's the magic number.
Before you start wrestling with straps and buckles, a quick check-in with your gear can save you a ton of frustration. Think of it as your pre-flight checklist.
Seriously, don't skip this. Taking a moment to check the car seat manual, then your vehicle's manual, and finally the seat itself prevents the most common mistakes right from the get-go.
Rear-Facing and Forward-Facing Installation
When it comes to infant seats and the bigger convertible or all-in-one seats, you’ve got two options for securing them: the LATCH system or your car's seat belt.
Here's the most important rule: Use one or the other, but never both together, unless your car seat manual specifically says it's okay (which is extremely rare). Using both can put unsafe stress on the car seat shell.
While car seat usage is high—over 90% in many places thanks to safety laws—correct installation is a whole different story. Getting it right by following the manual, using the top tether for forward-facing seats, and ensuring a snug fit is proven to cut injury risks by up to 71% for infants and 54% for toddlers. It’s not just about using a seat; it’s about using it correctly.
LATCH vs Seat Belt Installation At a Glance
Deciding between LATCH and the seat belt can be confusing. Both are equally safe when used correctly, but one might work better for your specific car or seat. This quick table breaks down the main differences.
| Feature | LATCH System | Vehicle Seat Belt |
|---|---|---|
| Connection Points | Uses dedicated lower anchors built into the vehicle. | Uses the car's existing seat belt system. |
| Weight Limits | Has a combined weight limit (child + seat) of 65 pounds. | Can be used up to the car seat's maximum harness weight limit. |
| Best For | Often simpler and quicker for initial installation. | Universally available in all seating positions. |
| Key Step | Getting enough leverage to pull the LATCH strap tight. | Ensuring the vehicle seat belt is properly locked. |
Ultimately, the best method is the one that allows you to get that rock-solid, less-than-an-inch-of-movement installation every single time.
Using the LATCH System
Many parents find the LATCH (Lower Anchors and Tethers for Children) system to be the more straightforward method. Your car has small metal bars, the lower anchors, tucked between the seat cushions.
- Find the Anchors: Look for the little circle symbols on your vehicle seat to locate the lower anchors.
- Connect the Straps: Attach the connectors from your car seat to the vehicle's anchors. You should hear a satisfying "click" to know they're secure.
- Get it Tight: This is where you need to put some muscle into it. Place your knee in the car seat, put your weight on it, and pull the LATCH strap to tighten it. This pressure helps compress the vehicle cushion and gets all the slack out.
A common mistake is not putting enough weight into the seat while tightening. Use your body weight to your advantage!
Using the Vehicle Seat Belt
If LATCH isn't an option (maybe your child has outgrown the weight limit, or you're installing in the middle seat), the seat belt is just as safe. The trick is making sure the belt stays locked and tight.
- Route the Belt: Thread the seat belt through the correct belt path on the car seat. Double-check you're using the right one—rear-facing and forward-facing paths are different and clearly marked.
- Buckle and Lock: After buckling, you have to lock the belt. In most newer cars, you do this by slowly pulling the shoulder belt all the way out until it stops, then letting it feed back in. You'll hear a ratcheting sound as it retracts, which means it's locked. Some car seats also have built-in lock-offs that clamp the belt tight for you.
- Remove the Slack: Just like with LATCH, put your weight into the seat and pull the shoulder part of the belt to tighten it until it's snug.
The Critical Top Tether for Forward-Facing Seats
Once your child graduates to a forward-facing seat, there's one more crucial step: the top tether. This is a strap on the back of the car seat that hooks to a dedicated anchor point in your car.
Don't skip this. That one strap is a game-changer, dramatically reducing how far your child's head can whip forward in a crash by 4-6 inches, helping to prevent serious head and neck injuries. Always find the tether anchor in your vehicle (your car's manual will show you where) and connect it snugly after installing the seat.
Booster Seat Installation
Good news! Installing a booster seat is much, much simpler. Its main job is to "boost" your child up so the car's seat belt fits them correctly, just like it fits an adult.
- Placement: Just set the booster flat on the vehicle seat. That’s it.
- Positioning: Have your child sit down. The lap belt should lie flat and low across their upper thighs (never on their soft tummy), and the shoulder belt should cross the middle of their shoulder and chest.
- High-Back Boosters: If you have a high-back booster, it will likely have guides or clips for the shoulder belt. Make sure you route the belt through them as shown in the manual to get the perfect fit.
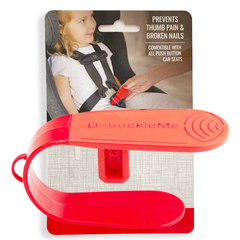
No matter which installation method you use, the goal is a secure seat for your most precious passenger. And for caregivers with arthritis, limited hand strength, or even just long nails, the daily struggle isn't always the installation—it's the unbuckling. A tool like the UnbuckleMe car seat buckle release tool can be a huge help, as it reduces the force needed to press that red button without compromising safety.
The Final Safety Checks That Confirm a Perfect Fit
Getting the car seat installed tightly is a huge win, but you're not quite done yet. A few final checks are what transform a good installation into a great one, ensuring every single part of the seat is ready to protect your child.
Think of it as your pre-flight check. Running through these steps before every trip will quickly become second nature, giving you the confidence that your child is as safe as possible.
Performing the One-Inch Test Correctly
You've probably heard this term thrown around, but let's break down exactly what the "One-Inch Test" means. This is the gold standard for checking if your installation is truly secure.
Here’s how to do it right: grab the car seat at the belt path. That’s the specific slot where the vehicle seat belt or LATCH strap threads through the seat itself. Using your non-dominant hand, give it a firm tug, moving it side-to-side and front-to-back.
The seat should not move more than one inch in any direction at that belt path. Don't be surprised if the top of the seat (especially a rear-facing one) moves a bit more—that’s completely normal. Your focus is only on the movement at the belt path.
Mastering the Pinch Test for Harness Straps
Once the seat is locked into the car, it's time to secure your little one. One of the most common mistakes parents make is leaving the harness straps too loose.
This is where the "Pinch Test" saves the day. After buckling your child and pulling the harness tight, try to pinch a horizontal bit of the strap webbing at their collarbone.
- If you can grab a fold of the strap, it's too loose. Keep tightening.
- If your fingers just slide right off, it’s perfectly snug.
A snug harness is non-negotiable. In an accident, it's what holds your child securely within the protective shell of their car seat.
Setting the Chest Clip at Armpit Level
That little plastic clip has a surprisingly important job: it keeps the harness straps perfectly positioned over your child's strong, bony shoulders. It doesn't need to be cinched down super tight, just snug enough to stay in place.
The correct spot is right at armpit level. A chest clip positioned too low on the belly is incredibly dangerous. In a crash, it can cause severe internal injuries by putting pressure on soft abdominal organs. Too high, and it can be uncomfortable or even a choking hazard.
Getting these details right is what makes a correct installation so effective. The baby car seat market has grown significantly as more people understand how misuse can lead to failure in a crash. Mastering these key steps—a secure base, a properly placed chest clip, and a snug harness—can reduce fatality risk by an incredible 71% for infants in passenger cars. You can explore more insights about the impact of correct installation on child safety and see why these final checks are so critical.
Checking the Recline Angle for Infants
For newborns and young infants without strong head and neck control, the recline angle is a critical safety feature. If the seat is too upright, their head can slump forward, which could potentially block their airway.
Fortunately, car seat manufacturers make this pretty easy to check. Look for a built-in recline indicator on the side of the seat. It might be a bubble level, a simple colored line, or a dial. Your job is to make sure that indicator is in the approved zone for your child’s age and weight, just as your manual specifies.
But what if you can't get the angle right? Some vehicle seats have a steep slope that makes it tough. If your car seat manual gives the okay, you can use a tightly rolled towel or a piece of a pool noodle under the car seat's base to help level it. Just be sure to confirm your manual allows this trick before you try it.
Common Installation Mistakes and How to Fix Them
Even the most careful parents can make mistakes when learning how to install a car seat. The good news is that most of these slip-ups are common and, once you know what to look for, totally fixable. Just recognizing these frequent missteps is the first step toward a safer ride for your child.
One of the biggest culprits is a loose installation. You might do the One-Inch Test and think it feels solid, but the trick is to check it at the right spot—the belt path. If the top of the seat feels tight but the base shifts around easily, it’s not secure enough.
Another simple but critical error is twisted straps. This goes for both the LATCH straps holding the seat in place and the harness straps keeping your child snug. A twisted strap can’t spread out the force of a crash evenly, which makes it much less effective. Always run your fingers along every strap to make sure it’s lying completely flat before you tighten everything down.
The Forgotten Top Tether
When it comes to any forward-facing car seat, the top tether is an absolute must-use safety feature. It’s that strap on the back of the seat that hooks to an anchor point in your vehicle. Its entire job is to dramatically reduce how far your child's head moves forward in a crash—a major cause of head and neck injuries.
Forgetting to attach and tighten the top tether is one of the most dangerous and common mistakes we see.
- Why it's a risk: Without it, the car seat can lurch forward several inches in a collision.
- The fix: Always find your vehicle's top tether anchor (your car manual will show you where) and secure the strap snugly after you’ve installed the seat. It takes just a moment and makes a world of difference.
We feel so strongly about this one that we wrote a whole guide on the #1 car seat installation mistake parents don't know they're making. It's a simple fix, but it's absolutely vital.
Incorrect Recline Angle
The recline angle isn't just about making the ride comfy. For infants, it’s a critical safety feature that keeps their airway open. A newborn's head is heavy, and they don’t have the neck muscles to support it. If their seat is too upright, their head can flop forward and block their breathing.
Every infant-ready car seat has a recline indicator—usually a bubble level or a colored line. Your only job is to make sure that indicator is in the safe zone shown in your manual.
If your car’s seats are sloped and making it hard to get the right angle, don’t panic. Check the car seat manual; many allow you to place a tightly rolled towel or a piece of a pool noodle under the base to help level it out. It’s a simple trick that can perfect the fit.
Assistance for Caregivers with Limited Hand Strength
Getting the car seat installed is just one part of the equation—you also have to use it every day. For many grandparents, caregivers with arthritis, or even parents with long nails, just unbuckling a child can be a real struggle. That red buckle on a car seat requires about 9 pounds of force to release, which can be tough.
This challenge can sometimes lead to unsafe habits, like leaving a harness too loose just to make unbuckling easier. UnbuckleMe is designed specifically to solve this problem without cutting corners on safety.
UnbuckleMe uses simple leverage to reduce the force needed to pop the harness open. It just slides over the buckle and lets you push with your thumb or palm, making it way easier for anyone with limited hand strength or conditions like carpal tunnel. Using an assistive tool means your child can stay safely and securely buckled on every single ride, and the end of the journey is stress-free for the driver.
Your Car Seat Installation Questions Answered
Even after you've tugged on that last strap and given the seat a good shake, it's totally normal for questions to pop up. Car seat safety is a world filled with tiny but important details, and having a few lingering "what ifs" is just part of the process.
Think of this section as your quick-reference guide for those common head-scratchers. We want to help you feel confident about every trip, knowing your little one is as safe as can be.
When Should I Switch from Rear-Facing to Forward-Facing?
This is easily the question we hear most often, and the answer is refreshingly simple: keep your child rear-facing for as long as possible. Don't even think about turning them around until they hit the absolute maximum height or weight limit for the rear-facing mode of their specific seat.
Forget about age milestones as a guide. The limits set by the car seat manufacturer are there for a reason—they're based on rigorous safety testing. Staying rear-facing provides the best possible protection for a child's incredibly vulnerable head, neck, and spine in a crash. And don't worry if their legs look a bit cramped or are bent; this is perfectly safe and way better than turning them forward-facing too soon.
Is It Safe to Use a Second-Hand Car Seat?
We strongly recommend against it unless you can verify its complete history with 100% certainty from someone you trust with your child's life. A used car seat is just too big of a gamble.
A car seat is a one-and-done safety device. You should never use one that has been in a crash (even a minor fender bender), is past its expiration date, is missing any parts, or doesn't have its original manual and labels. Hidden damage from an accident or the natural breakdown of plastic over time can cause the seat to fail when you need it most. A brand-new, budget-friendly seat is always a safer bet than a used one with a mysterious past.
How Can I Find a Certified Technician to Check My Work?
Getting a second set of expert eyes on your installation is a fantastic way to gain peace of mind. These pros, known as Child Passenger Safety Technicians (CPSTs), have seen it all and can spot subtle mistakes that are incredibly easy for parents to miss.
Your best bet is to check with Safe Kids Worldwide. They have a national database of certified technicians and can help you find a local car seat checkup event or a permanent inspection station. Many local fire departments, police stations, and hospitals also offer this service, often for free.
What Is the Top Tether and Why Is It So Important?
The top tether is that long strap on the back of your convertible or forward-facing car seat. It has a hook on the end that clips to a special anchor point in your vehicle.
When your car seat is installed in the forward-facing position, using the top tether is a critical safety step. It's not optional. This one strap can dramatically reduce how far your child's head moves forward in a crash, which is key to preventing serious head and neck injuries. Always check your vehicle’s owner's manual to find the right anchor point and make sure that tether is pulled snug.
Can I Use Aftermarket Products with My Car Seat?
The golden rule here is a hard no. You should never use any accessories or products that didn't come in the box with your car seat or weren't made by the manufacturer specifically for your model. This includes things like cute harness pads, head positioners, bulky winter coats, and seat belt extenders. These items haven't been crash-tested with your seat and can seriously interfere with how it performs in an accident.
(This is why we designed UnbuckleMe to not attach to the car seat, so it cannot interfere with safety or performance of the seat).
At UnbuckleMe, we know that car seat safety goes beyond just the installation—it extends to everyday use. If you or a loved one struggles with unbuckling due to arthritis, long nails, or limited hand strength, our Car Seat Buckle Release Tool can make every ride safer and less stressful. It reduces the force needed to unbuckle, ensuring your child stays securely harnessed until you're ready to let them out. Learn more and make your travels easier at https://unbuckleme.com.
Leave a comment